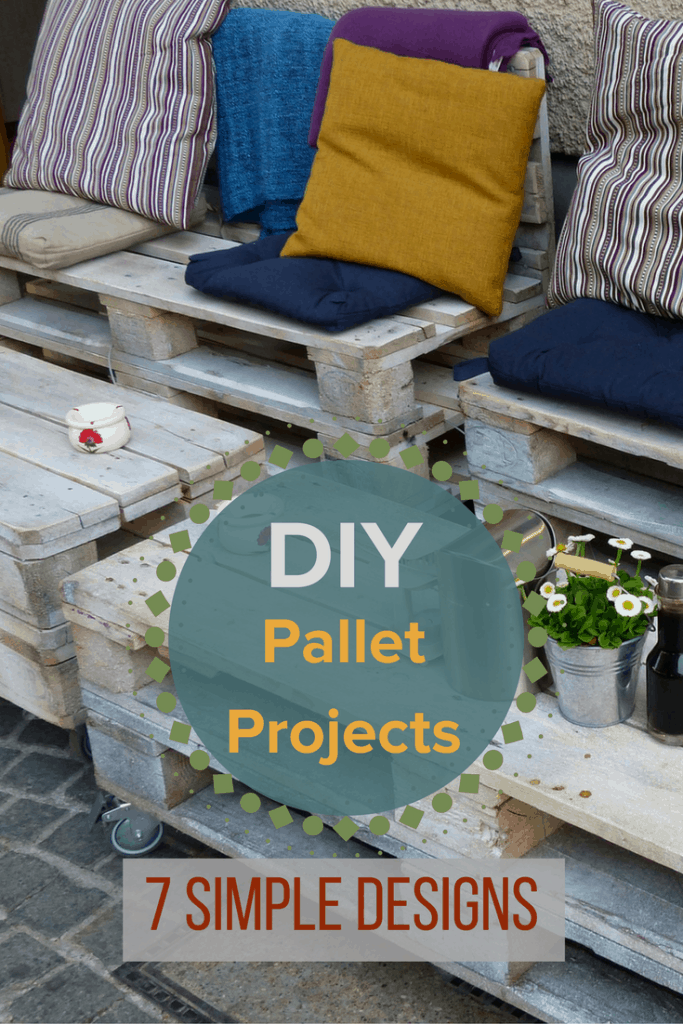
I had no idea that do it yourself pallet projects would captivate me so deeply. Carpentry was something I’d always enjoyed, but pallets had never featured in any of the work I’d done.
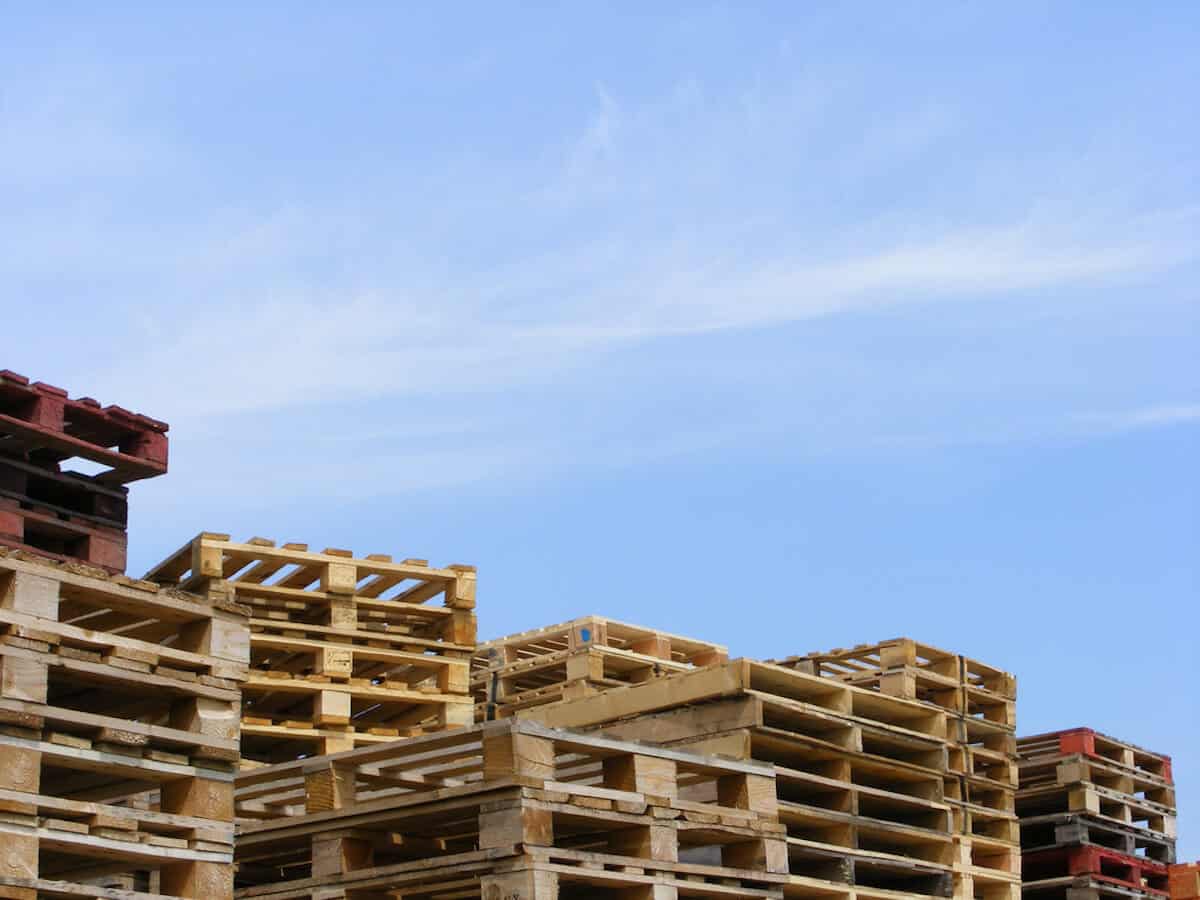
When I landed the gig as Projects Coordinator for Guatemala‘s Caoba Farms, coordinating volunteers and a weekly farmers market, pallets had nothing to do with it. But a month later my new boss, Alex, showed me a mountain of pallets.
“We get more every two weeks!” he told me conspiratorially, referring to shipments for his sustainable hardwood export business, Caoba Doors.
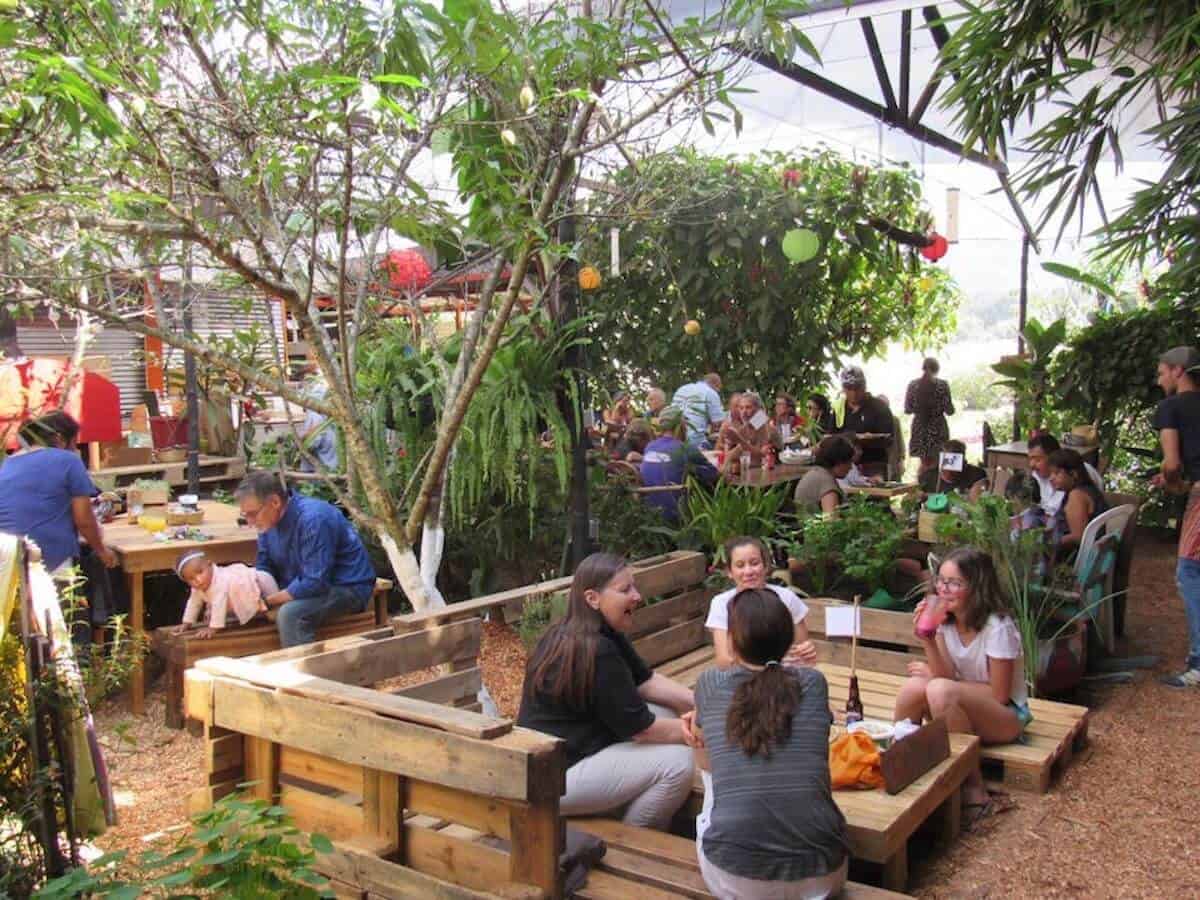
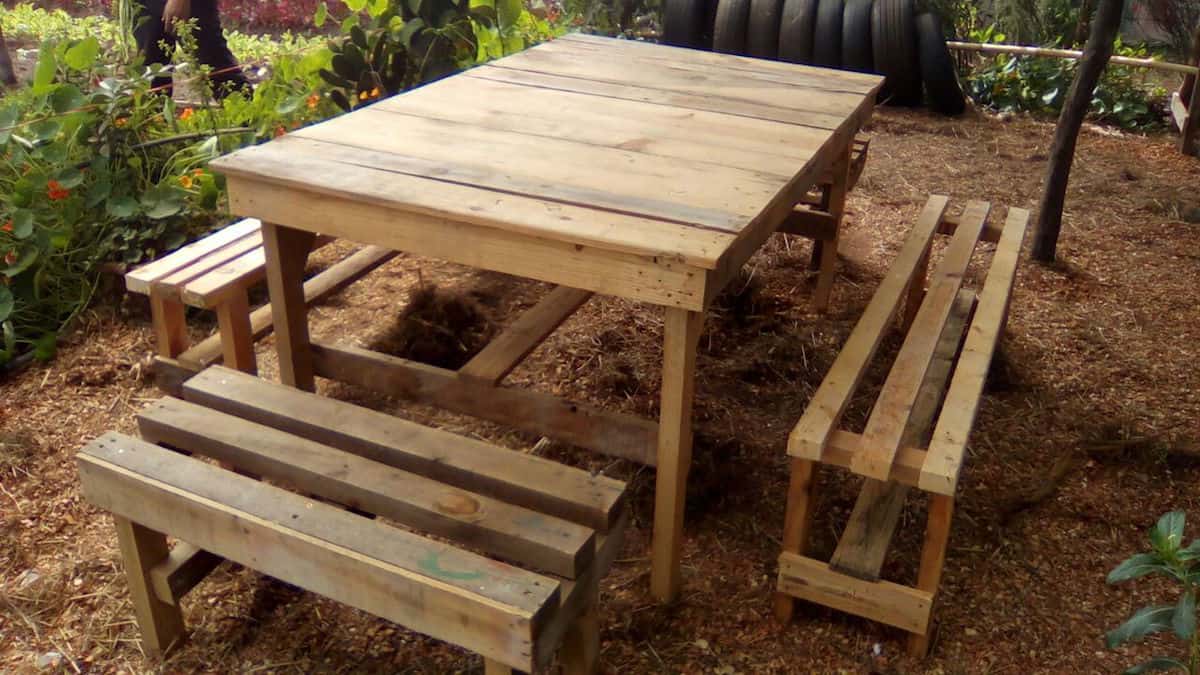
After that I created a “special projects day” for the volunteer program, and every one centered on do it yourself pallet projects. We started by constructing a massive table, made benches to go with it, and things just got silly after that. Down here in Guatemala, folks just go with the flow…
READ MORE: 21 Reasons Traveling to Guatemala is Addictive
CHOOSE YOUR PALLETS WISELY
Luckily for me, the pallets that came through Caoba Doors weren’t exposed to horrid things. But that’s not always the case. So the first step to undertaking do it yourself pallet projects is to make sure the pallets are safe to use. It’s easy to do, but this is a vitally important step.
The first thing to consider is the cleanliness of the pallet. The simple fact of the matter is that pallets are often used to transport some nasty things, such as oil, toxic chemicals, and boxes of “Make America Great Again” hats. A cursory inspection for spills of questionable origin is always a good practice.

Next, there’s the stamp. All pallets used internationally must have a stamp on them. This stamp provides you with a little history. Begin with the IPPC (International Pallet Protection Convention) logo, which signifies that the pallets aren’t carrying troublesome insects or diseases. If this stamp isn’t there, you might want to look for a different pallet.
To prevent pests and plant diseases, all international pallets must be treated. The method for doing so is also stamped on the pallet: [HT] stands for heat treatment, [MB] for methyl bromide, [DB] for debarked, and [KD] for kiln-dried. Any pallet with [MB]– a health-threatening pesticide– should also be avoided. They’re rarely used these days, and have even been banned in some countries. But they do exist.
READ MORE: GMO OMG: What the Hell Are They Putting In Our Food?
PREPARING YOUR PALLETS
Once all your pallets have been inspected, there are a bevy of choices to be made. Here are a few preparation tips from a guy who has banged his thumb a time or two in the name of pallet greatness:
First off, I’ve always preferred to keep my pallet projects human-powered. I typically use nothing more than a sturdy hammer, a quality handsaw (I’d recommend a Japanese saw), some pliers, and the occasional crowbar. Not only is this cheaper than buying power tools, but also it’s safer. Mistakes tend to result in minor injuries rather than missing fingers.
For finer do it yourself pallet projects, you’ll have to disassemble your pallets. Nothing works better than a five foot long two-by-four. Slip it underneath the slats of the pallet and slowly lever them up, working the entire board up a little at a time. Don’t go too fast here, or your slats will crack! Pallets are all different, but each one should yield eight to ten slats and three to four two-by-fours.
Lastly, consider ways you can build without disassembling the pallets. This admittedly will not make the prettiest furniture. But it’s great for work tables, rustic garden benches, and vertical gardens. It’s also a lot less work, with less lumber going to waste and a stronger structure in the end. I often cut off sections of intact pallet when I need something smaller.
READ MORE: Eco-Friendly Construction in Guatemala
3 EASY DO IT YOURSELF PALLET PROJECTS
Taking a pallet apart and removing all the nails can be taxing work. So when there’s an option not to do that, it’s magical. The following three projects require either no disassembly, or very minimal:
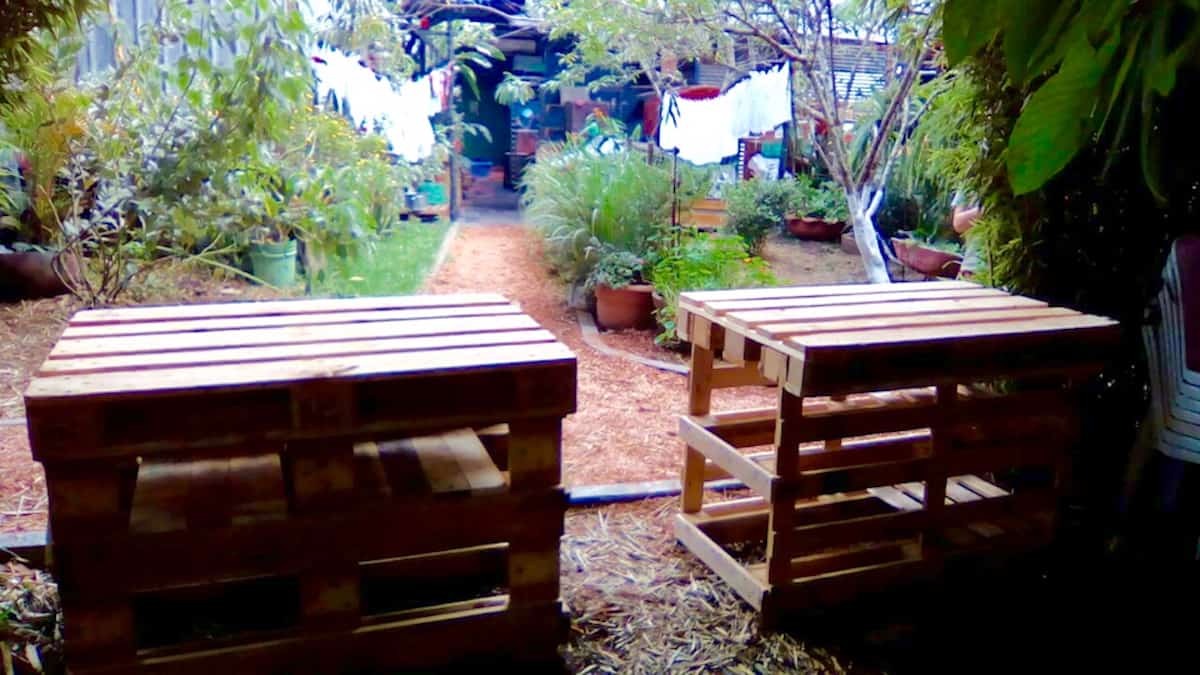
PALLET WORK TABLE: I learned quickly that do it yourself pallet projects require a solid work table. I made one in about half an hour that requires three pallets. Use the nicest one for the top and the other two for the legs. To strengthen it a little, I removed a slat from each leg and installed triangle braces for strength. Everything firmed up immediately, and life in the pallet furniture factory got a lot easier.
SHOE RACK: Making a pallet shoe rack is very easy. Simply stand the pallet up with the slats going horizontally and lean it (or fasten it) against the wall. The toes of shoes can then be stuffed into the spaces between the slats. That’s all there is to it! For something a bit more presentable, sand the pallet with some 80-grit sandpaper and either varnish it or give it a colorful paint design. A well-placed nail or two could also work for hanging hats or work gloves.
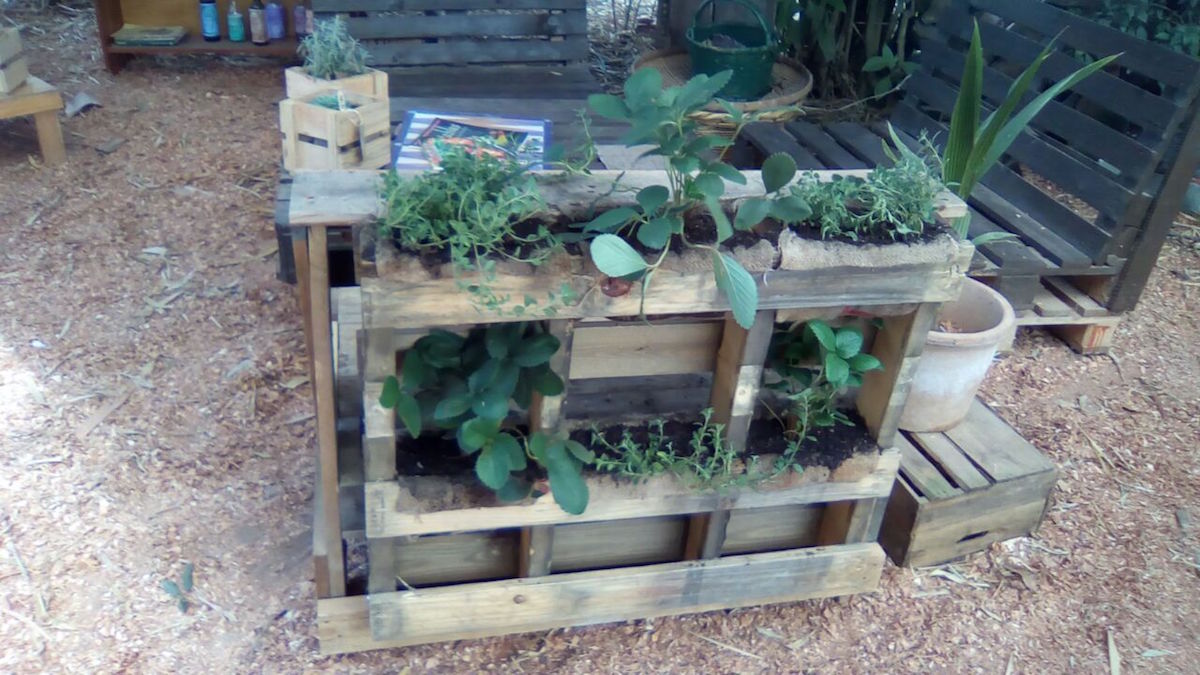
VERTICAL GARDEN: Vertical gardens are increasingly popular these days. And since pallets are chemical-free, growing veggies in them is a great option. To do this, remove every other slat, then give the pallet a quick sanding. Use landscaping cloth or repurposed burlap to create a pocket four to six inches deep inside two slats. Staple the pockets in place, fill them with potting soil, and plant assorted herbs or loose-leaf lettuces. You should be able to harvest your first salad in about a month.
READ MORE: How To Make A Do It Yourself Vertical Garden
4 MORE DO IT YOURSELF PALLET PROJECTS
Once the do it yourself pallet projects get rolling, it’s hard to slow down… especially when the wood is free! I’ve built walls, lounges, coffee tables, a bar, sofas, and various benches. I suspect that those who feel similarly inspired by the hobby will have many of their own ideas. But to get that ball rolling, here are four more simple projects:
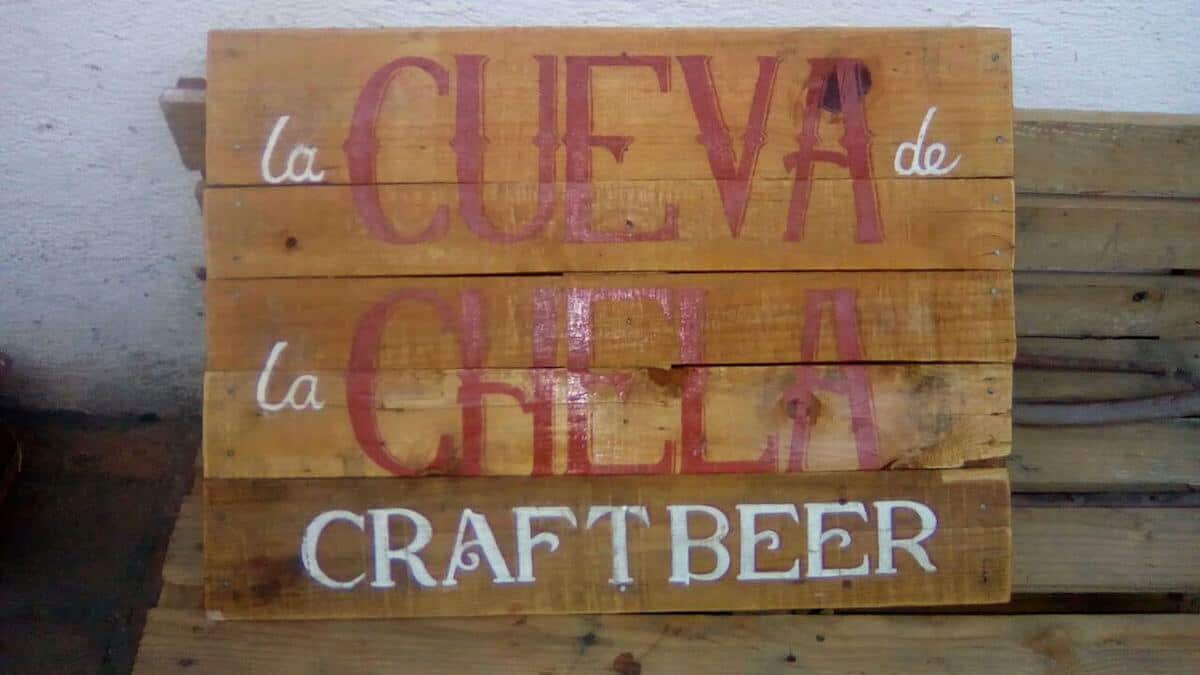
SIGNS: Signs made from pallets look rustically delicious. They’re especially enticing when you stumble upon a pallet that comes apart easily. In this case, remove all the slats and sand them. Use a couple of them to nail the others to, creating a square or rectangle. Even the simplest of paintings— be it words, a heart, or whatever—will look great on this backdrop.
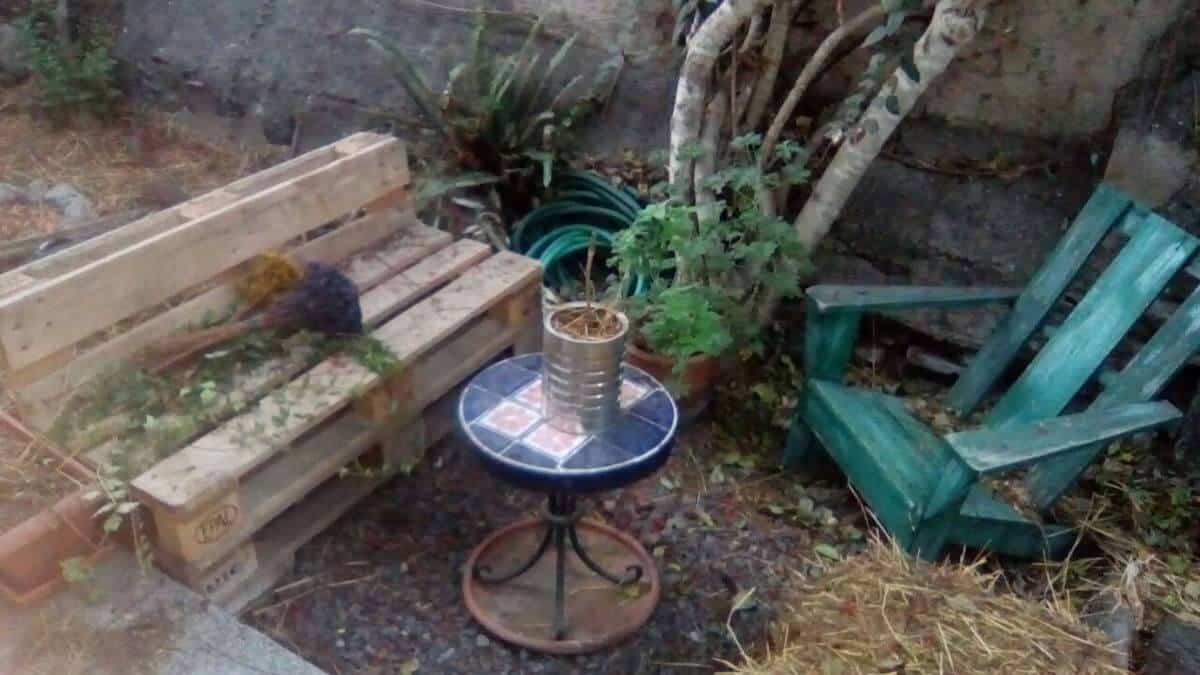
PALLET BENCH: Whether you use it for the patio or garden, this is another fast project that pays dividends. For a simple bench, get two pallets with three runners between the slats. Cut each pallet near the center, just to the side of the middle runner. Stack two sections of a pallet with two runners to make the seat of the bench. Then fasten one of the remaining sections, with only one runner, onto the seat to create a backrest.
PALLET SWING BED: I haven’t actually made this one personally, only because I don’t have a place from which to swing one. But they’re simple to build and, after making the bench mentioned above, the pieces are available. Just add the remaining section of pallet as a headboard on a full pallet. Then sand and varnish/paint the pallet bed. Using a rope and hooks, hang it from a strong beam or tree limb. Throw on some pillows, and maybe a blanket or cushion for added comfort.
FARMHOUSE TABLES: These beauties are easy to make and look quite impressive. A simple but sturdy one will require three pallets. First, remove the slats from the tops of each of the pallets. Nail all of these onto one of the pallets, butted tightly together. This creates a nice table top suited for four people. For the legs, finish taking apart the other two pallets and use the runners, which are usually two-by-fours. The remaining lumber can be used to brace the legs and/or make aesthetic additions. –Jonathon Engels; lead photo by Andrew Wilkinson
