GO GREEN TIP #99
How To Make A Do It Yourself Vertical Garden
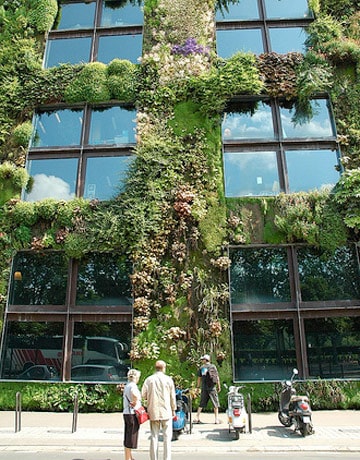
Anyone who loves gardening and lives in an apartment or house without a big yard knows the disappointment of not having the space available to grow plants. But now, thanks to the increasingly popular “Do It Yourself Vertical Garden,” you can make planters that allow you to capitalize on the vertical space that almost everyone has. These planters are perfect for outside on a balcony or sun deck, or inside in an area with good sunlight. They’re very popular for growing herbs, but you can also add small flowering plants to make it more decorative. There are a number of different methods for making vertical planters yourself: The best approach depends on your personal preference, space, and the tools you have available to you…
The Vertical Tube Method
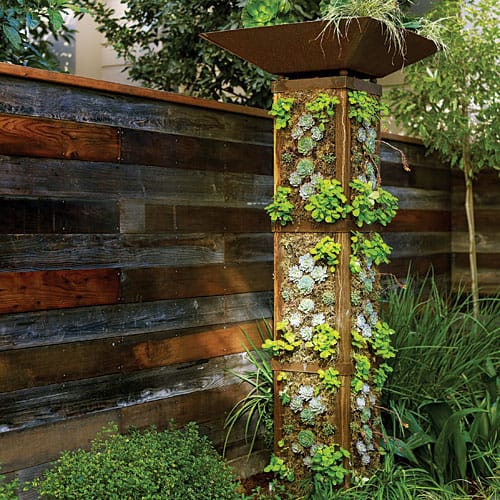
These kinds of planters use your average pot as a base, and then you make a tube structure which stands vertically in the pot, with plants growing out the sides. This could be as simple as a long, wide piece of drainpipe with lots of holes cut in it, filled with soil and standing upright… but that involves pipe-cutting tools not everyone has access to.
Another simple method that works well uses bamboo canes stood upright and joined together with rings to make a tube. The materials you’ll need for this method are: a pot, four wooden sticks (it doesn’t have to be bamboo– any wood is fine), a strong yet flexible wire, gardening net, twine, soil, and plants. The length of the wooden sticks depends on how high you want the planter to go, but a yard or meter might be a good starting point.
The four sticks need to be standing vertically in the pot in order to form the main structure. Make circles from your flexible material, and then tie them to the sticks with twine, starting at the bottom and spaced apart along the length of the sticks to form a tube that sits in your pot. To make the circles stay in place more easily, carve divots into the sticks that the circles can slot into.
Next, roll the gardening net up to the same width as the tube, and then sew it up to make a sock that will sit inside it. Place your wooden structure with the net tube inside your pot, and start filling it up with soil. Pack it tightly into the pot and around the bottom first to make sure the planter won’t fall, then down the center into the gardening net. Now you can make small cuts in the net from the outside, and place your plants into the soil.
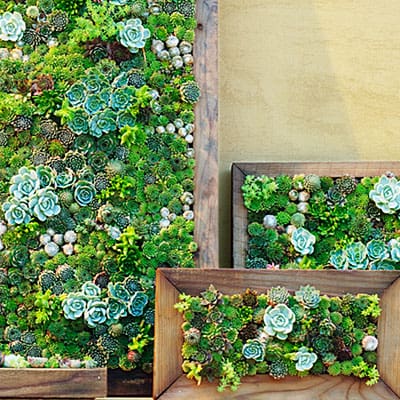
The Picture Frame Method

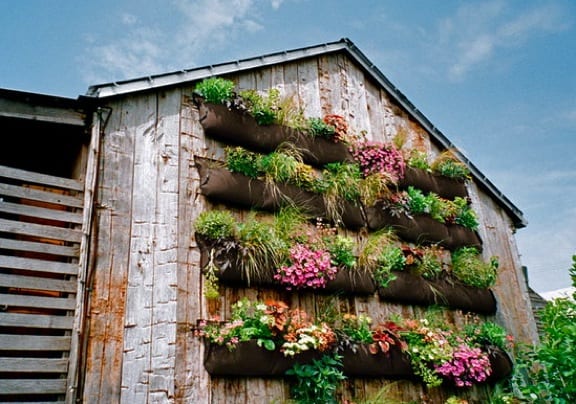
Some people use wooden pallets from supermarkets for their DIY vertical gardens, which saves time/money on making your own structure. You can also find or make planting pockets which hang from walls– a very simple system that’s perfect for growing your kitchen herbs. –Emma Higgins
Emma Higgins has been writing/travelling on and off since 2009. Her blog, Gotta Keep Movin’, is full of stories and advice from her trips, which include Europe, India, Morocco, South America, USA and Canada. Her focuses are budget travel and volunteering, and she’s been involved in sustainable farming in Argentina, animal shelters in Peru, and making goat cheese in British Columbia. Follow her on Facebook, Twitter & Pinterest.
If you enjoyed reading How To Make A Do It Yourself Vertical Garden, you might also like:
GO GREEN TIP 97# : DIY Rainwater Harvesting Tips
GO GREEN TIP #91: How To Attract Birds To Your Garden
GO GREEN TIP #87: How To Compost At Home
GO GREEN TIP #86: Mushroom Growing Guide
GO GREEN TIP #83: Top Foods To Buy Organic (& When It’s Not Necessary)
(Green Global Travel receives no pay for product reviews, and won’t recommend any product we don’t use ourselves. But we do have an Amazon Affiliate Program, and if you buy through the link below, it will help support our site at no additional cost to you. Thanks for your support!)


